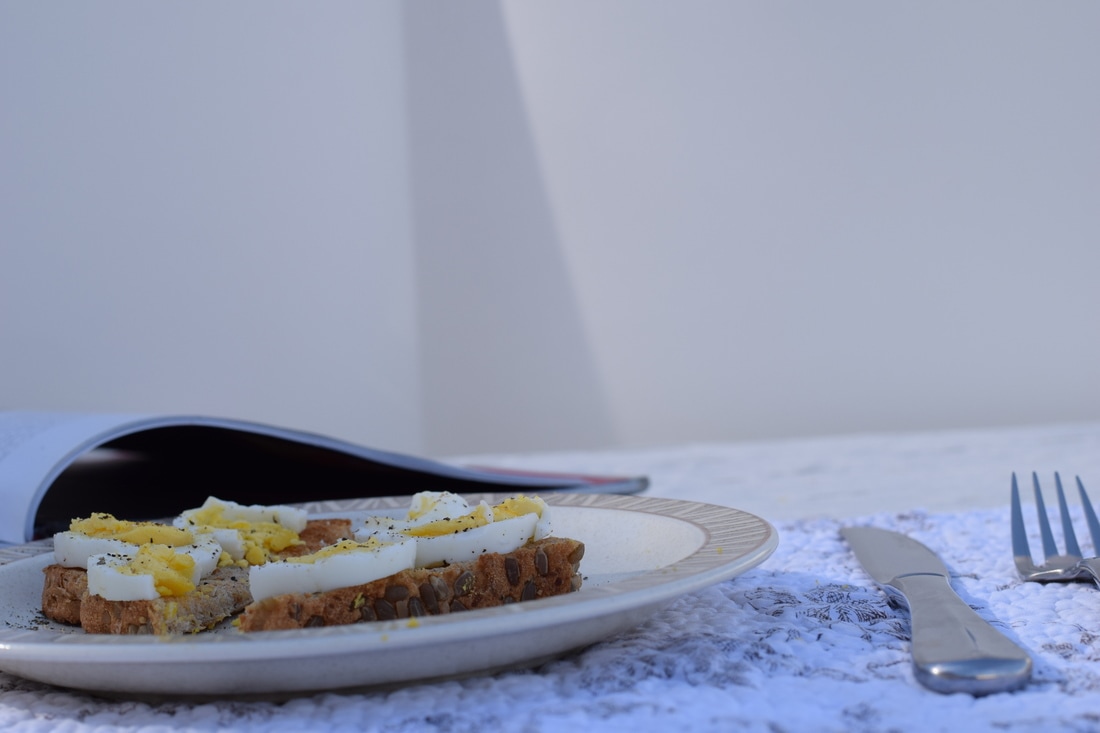
 The breakfast, aperture f/8, shutter speed of 1/500 of a second, ISO 320 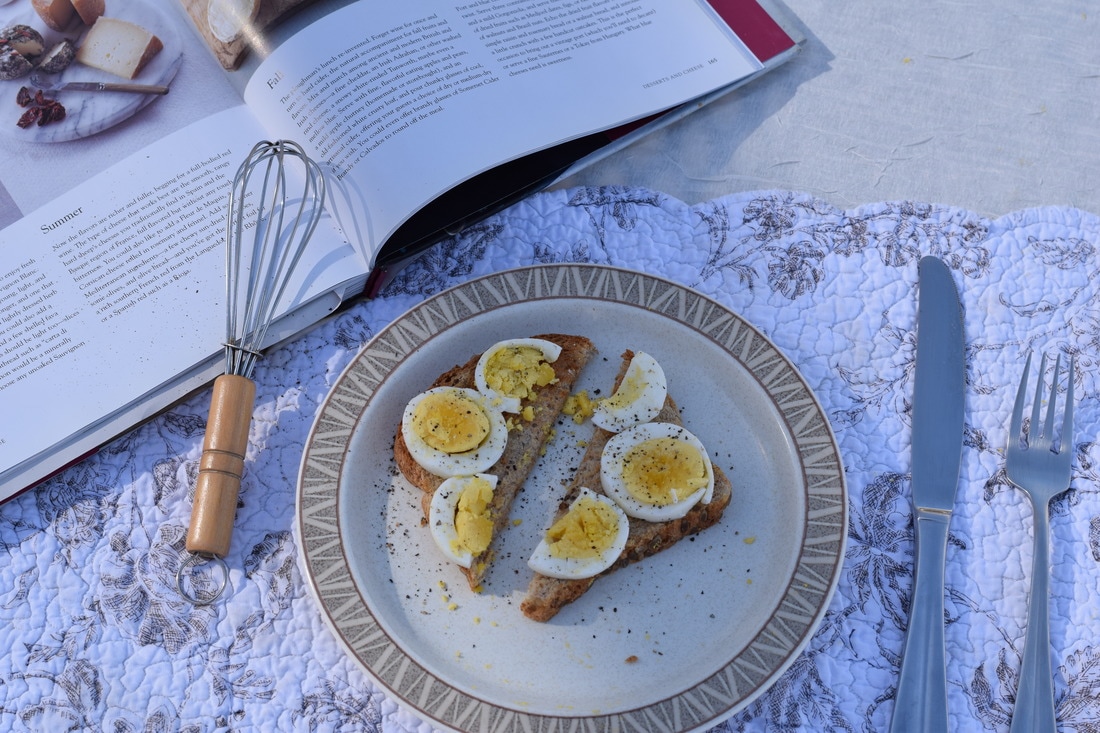 The feast begins, aperture f/8, shutter speed of 1/500 of a second, ISO 320 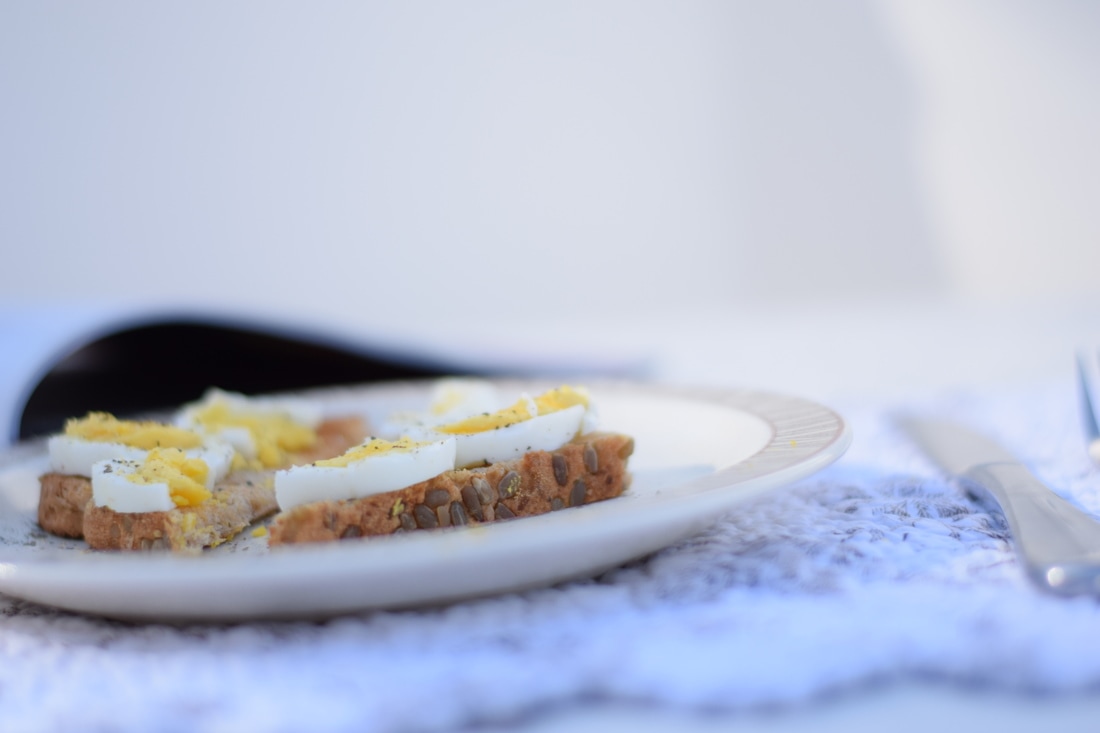 Yummy sight, aperture f/8, shutter speed 1/500 of a second, ISO 320 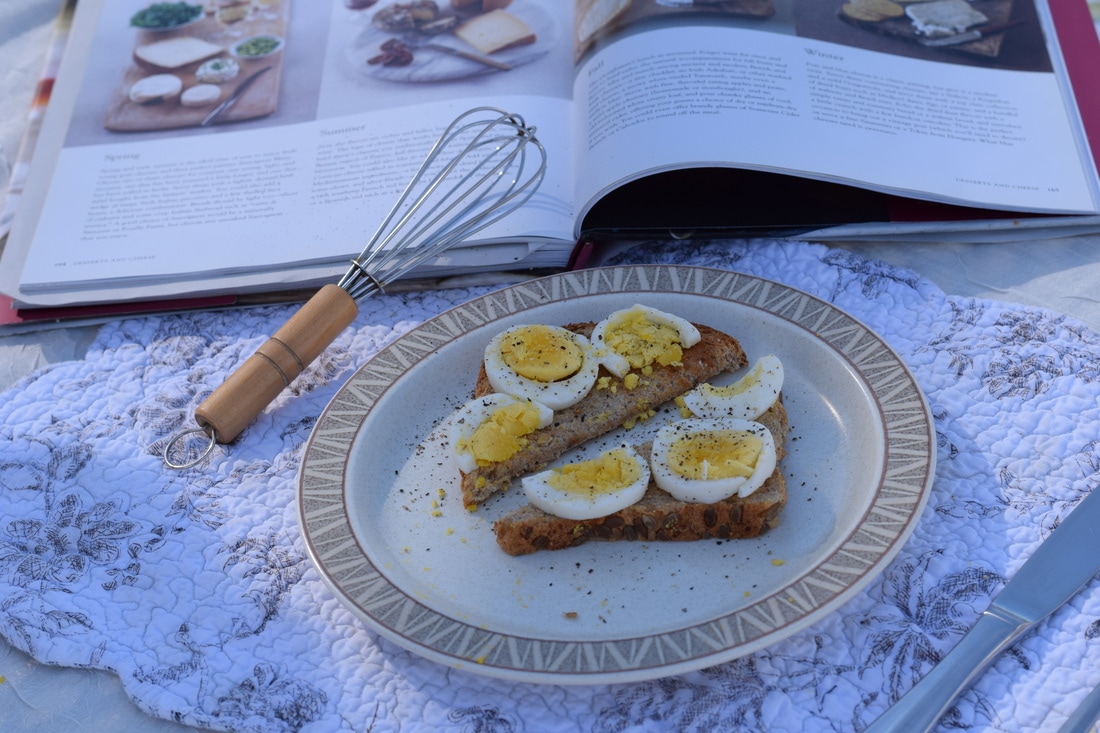 Recipe, aperture f/8, shutter speed 1/500 of a second, ISO 320 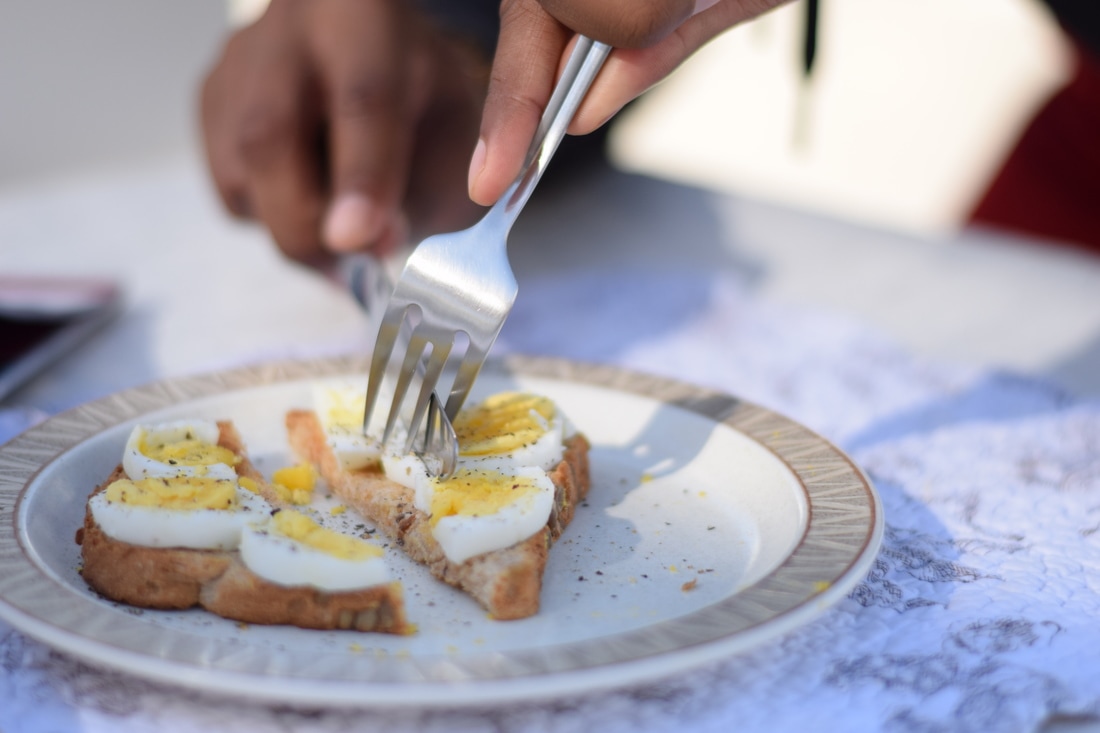 Time to eat, aperture f/8, shutter speed 1/500 of a second, ISO 320 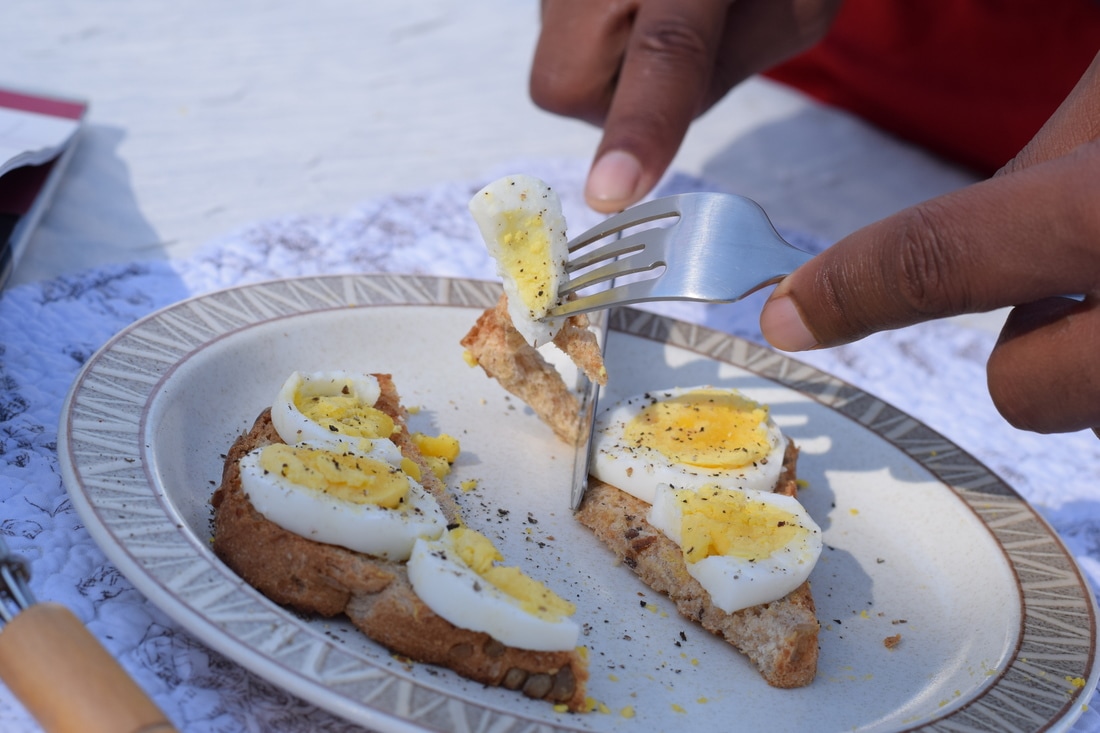 Can't wait, aperture f/8, shutter speed 1/500 of a second, ISO 320 1) I brought in some toasted pieces of bread and some black pepper. I also brought in a cookbook as a prop.
2) I learned that there are people that actually set up the food, enhance the food such as adding color, add in fake materials in order to make it stand out in the picture, adjust the lighting in certain ways to make it look vibrant, and last but not least they alter the angles to maximize photo quality. 3) I prepared the meal to look exactly the same as the one of the professional photographer by using the same foods and ingredients he did. 4) I learned how to use reflectors, incorporate background into the picture, and use props to make the story more interesting. 5) Businesses that use food photography could include bakeries, food shops, and restaurants. 6) I think I was successful in setting up the props in the background to make the photograph look complete.
0 Comments
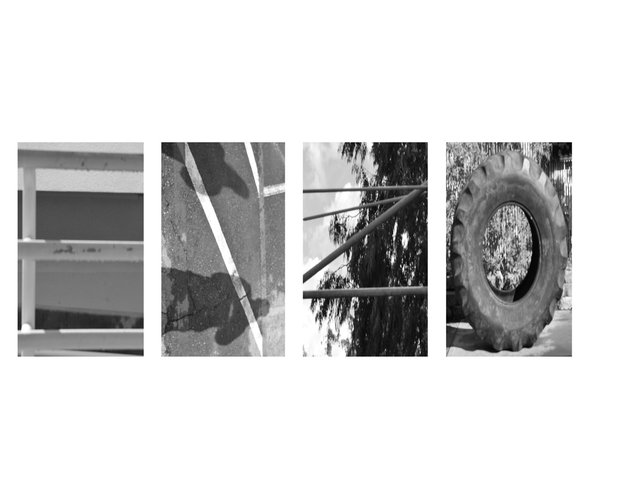 1) First I opened up a name template that my teacher provided for us and then I dragged each individual photograph onto that template. As you put the photos onto the template you're going to have to resize them in order to make them fit and look proportional. Once you're happy with the photograph you then click the check mark at the top in order to be able to move onto the next photo.
2) I had a hard time figuring out why it wouldn't let me drag the next picture onto the template. 3) Then when I figured out that I had to click the check mark I felt really proud of myself because I did it on my own without the help of anybody. 4) I think my artwork is very unique in the sense that the letters are cultivated out of natural occurring things around our campus. 5) I could have improved the letter n in the name by highlighting the lines to make them more apparent. 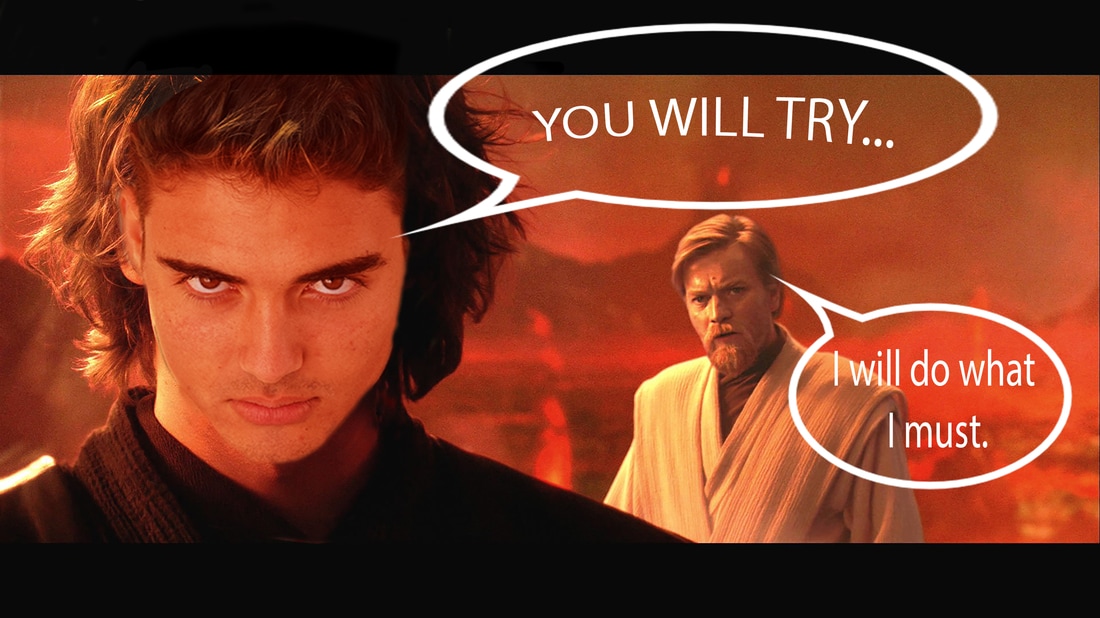 In this photograph I'm an actor. To be specific, I'm playing the role of Anakin Skywalker in the hit saga Star Wars. My dream career is to be a famous actor that stars in famous action movies/blockbusters. 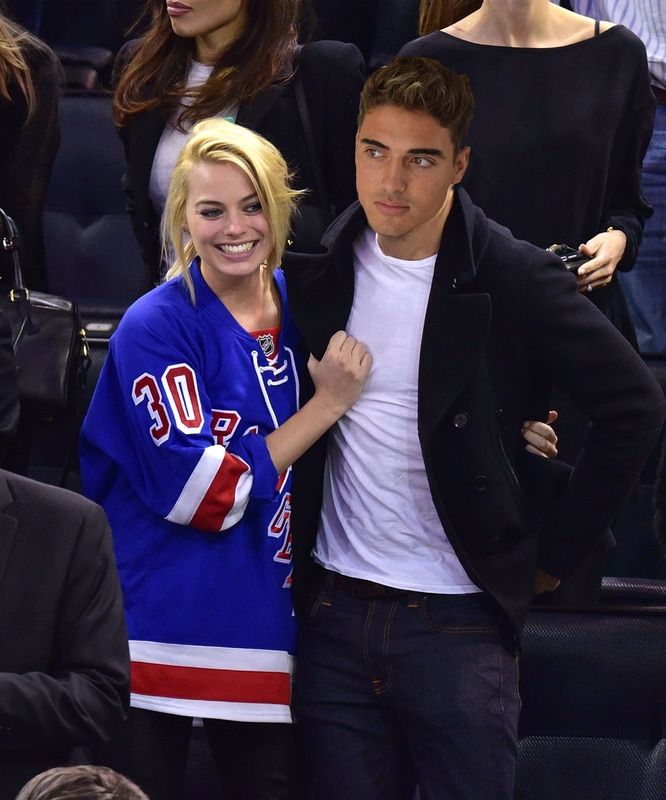 Here I'm hanging out with my soon to be wife at a hockey game. In my vision I will be with a beautiful woman in the future enjoying life. Other than my career, my personal love life is a big part of my success and happiness. Here are the steps to create a layermask image:
1) Get a picture of your face and a picture that you want to put your face in. 2) Use the lasso tool to cut out your face and put it onto the other image on photoshop. 3) Then use the scale to adjust your face according to the face of the person you're trying to replace. Lower the oppacity like that you can see the outline of his or her face in order to get it as exact as possible. 4) Put the oppacity back up to 100% and use the paintbrush tool to erase the edges of your face to make it look as real as possible. If you mess up by any chance just switch the color of the paintbrush from black to white and you can undo any mistakes you have made. |
AuthorHi, my name is Enzo Borghetto and I'm a senior at Rancho Buena Vista High School. Archives
June 2017
Categories |
 RSS Feed
