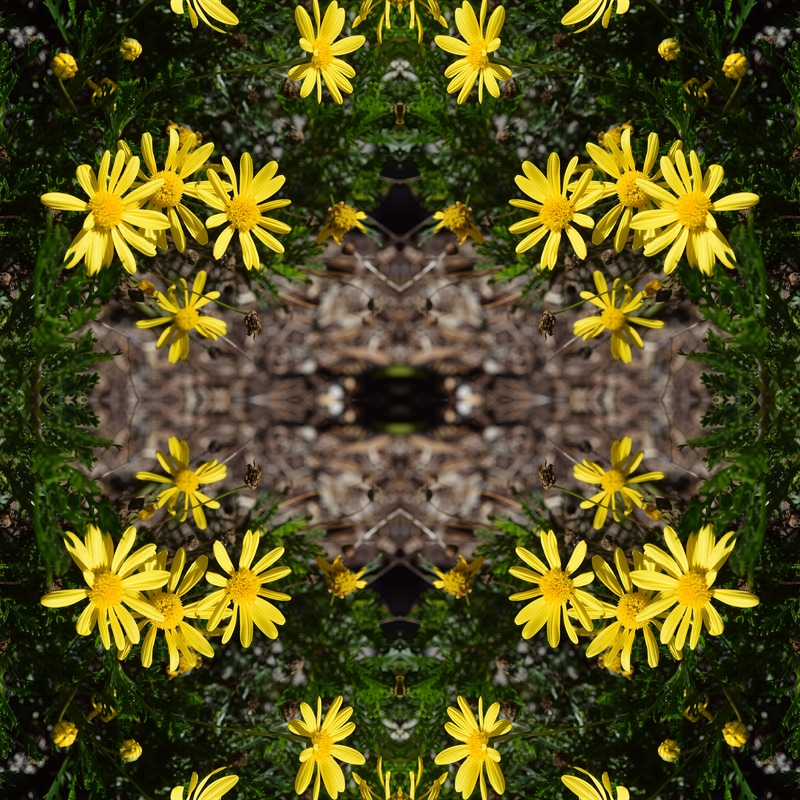
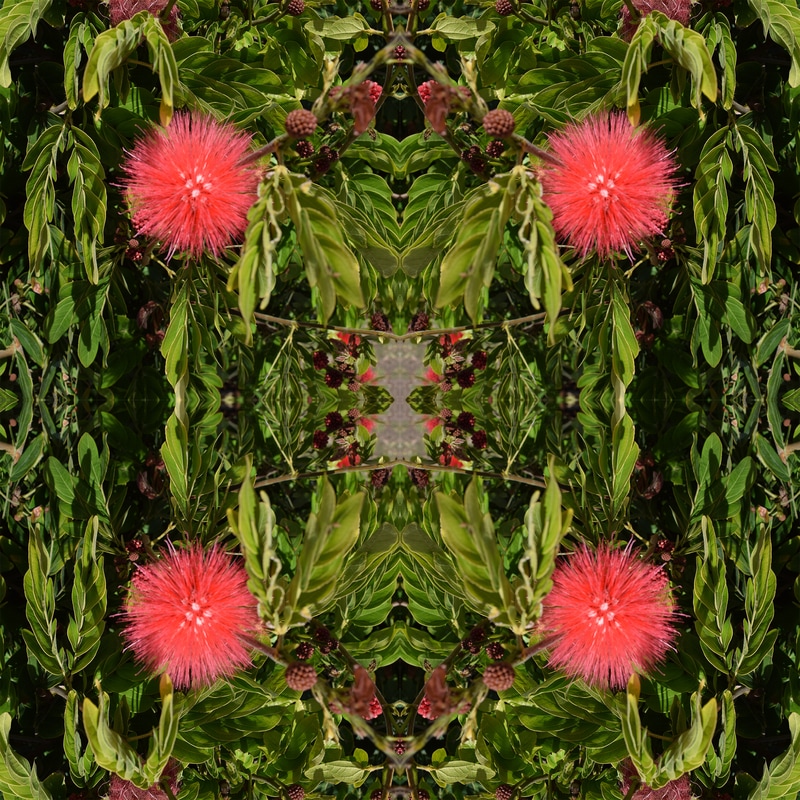
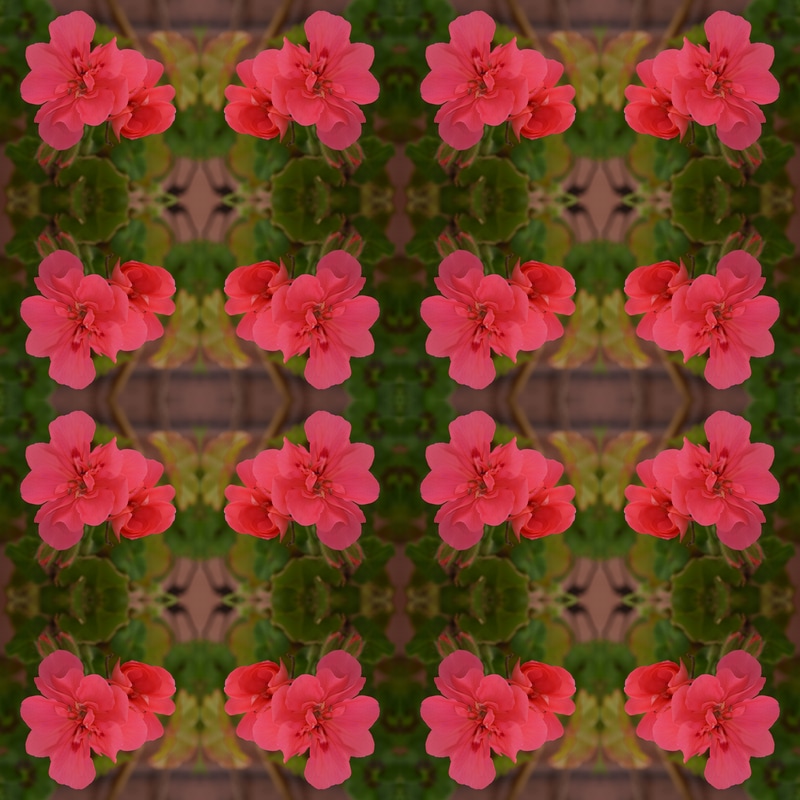
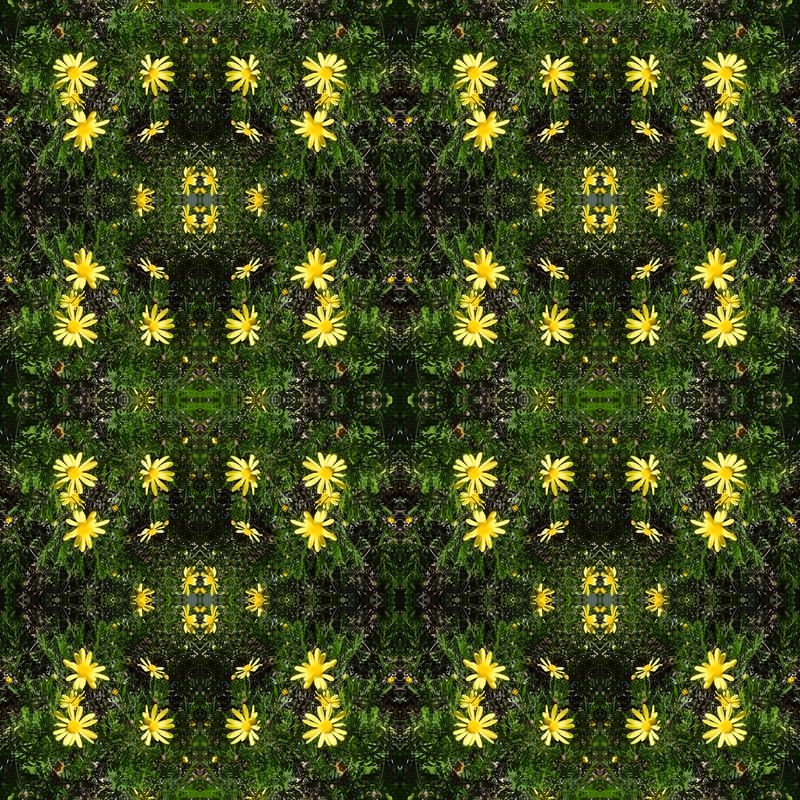
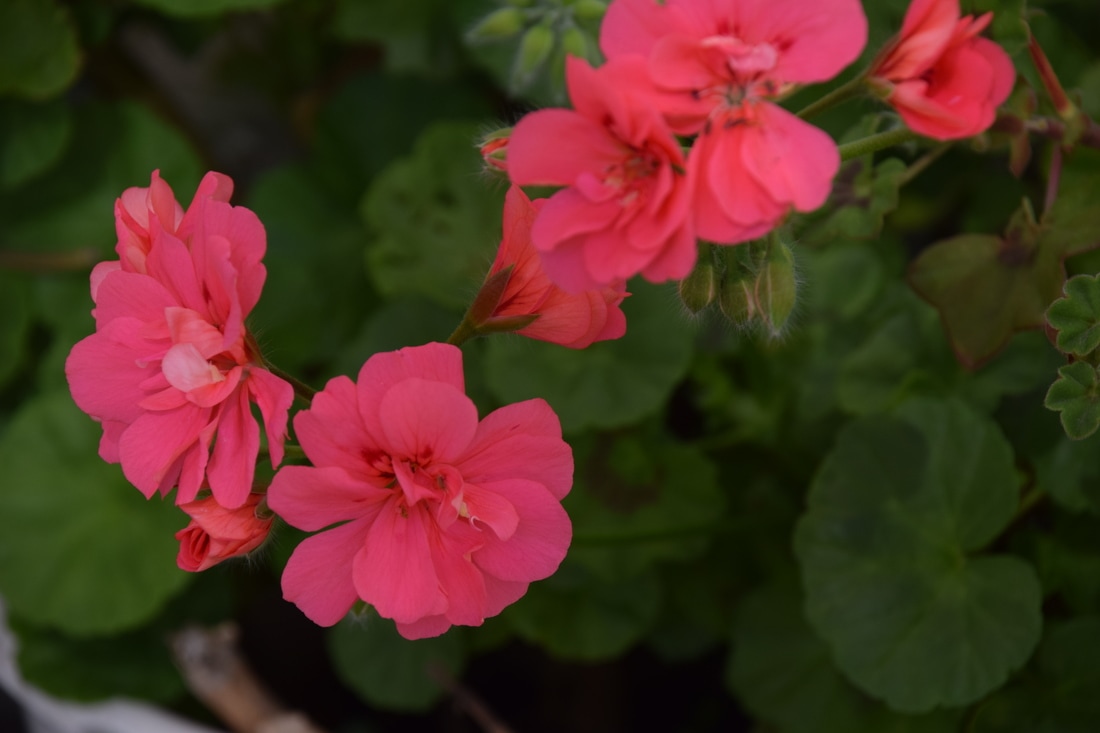
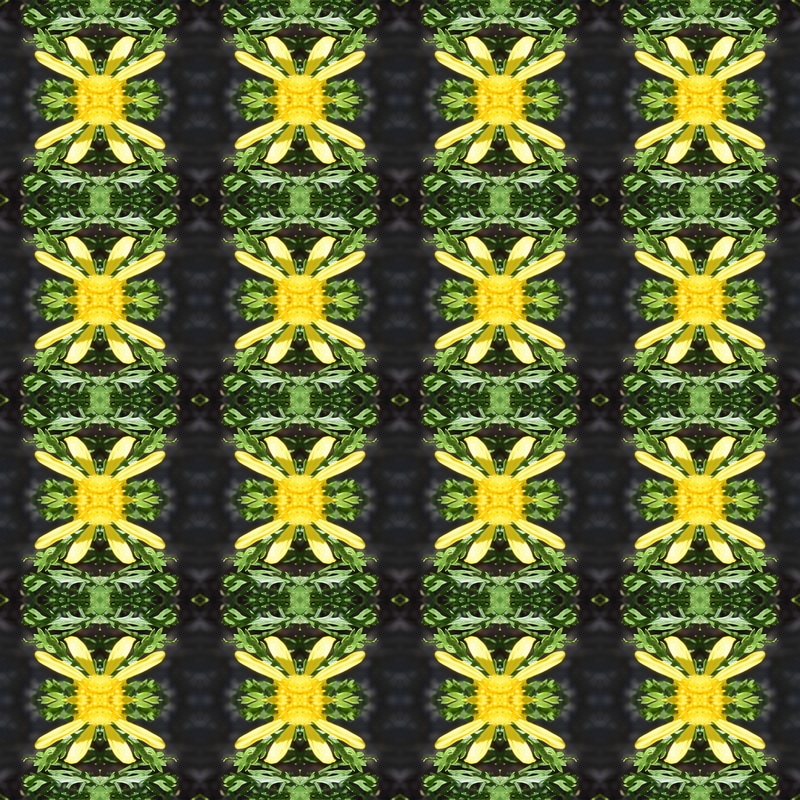
            It's an image that combines geometric photographs in a symmetrical way to make it look trippy. First I created a template and then I cropped my image to fit in that template. Then I duplicated the layers so that I could fill in the other spaces on the template and I would rotate the image either vertically or horizontally to make the design look cool. I like the designs of the pictures and my favorite one was the third one because of its color. I struggled a little bit in the beginning with the formatting of the template but once I figured it out I went on autopilot. If I could do it over again I would have probably taken better, more diverse pictures.
0 Comments
 Aperture f/8, shutter speed 1/750 of a second, ISO 400 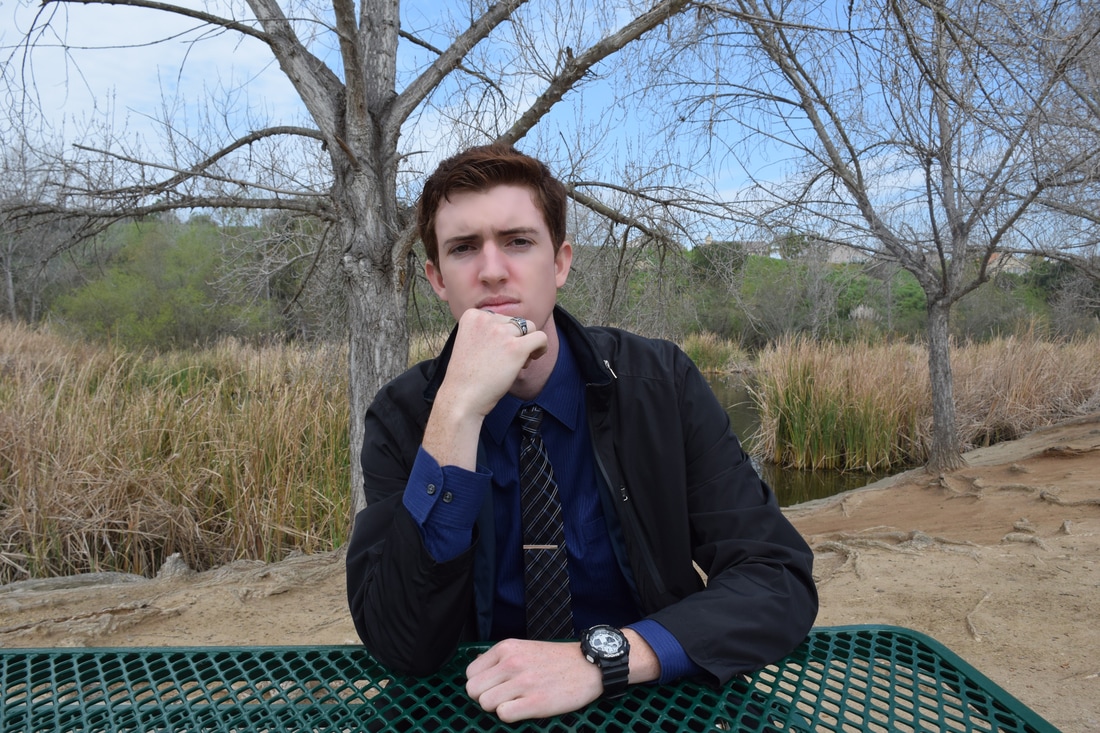 Aperture f/8, shutter speed 1/500 of a second, ISO 400 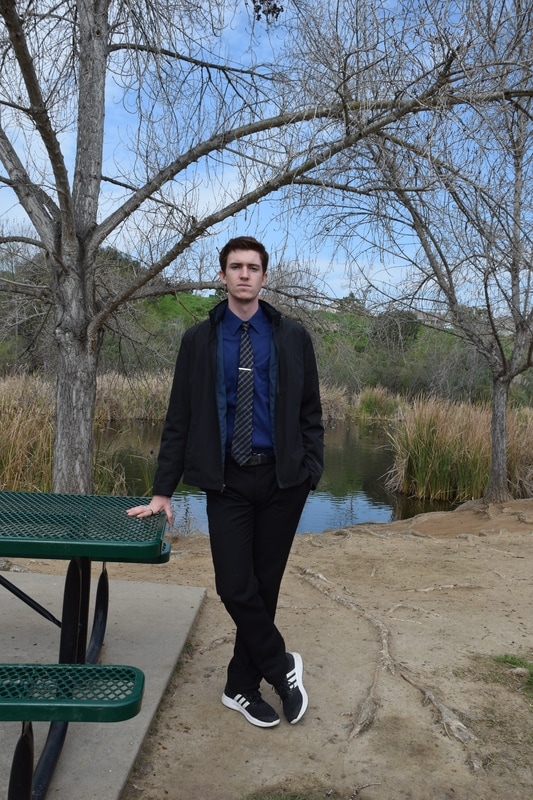 Aperture f/8, shutter speed of 1/500 of a second, ISO 400 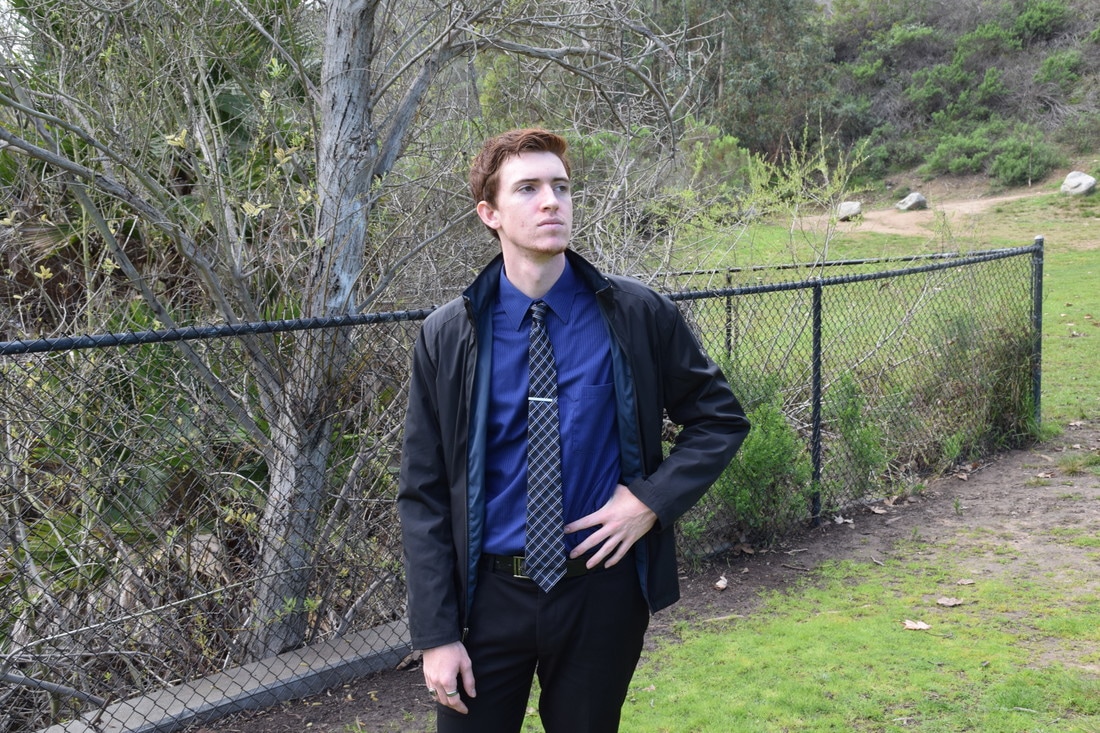 Aperture f/8, shutter speed 1/125 of a second, ISO 400 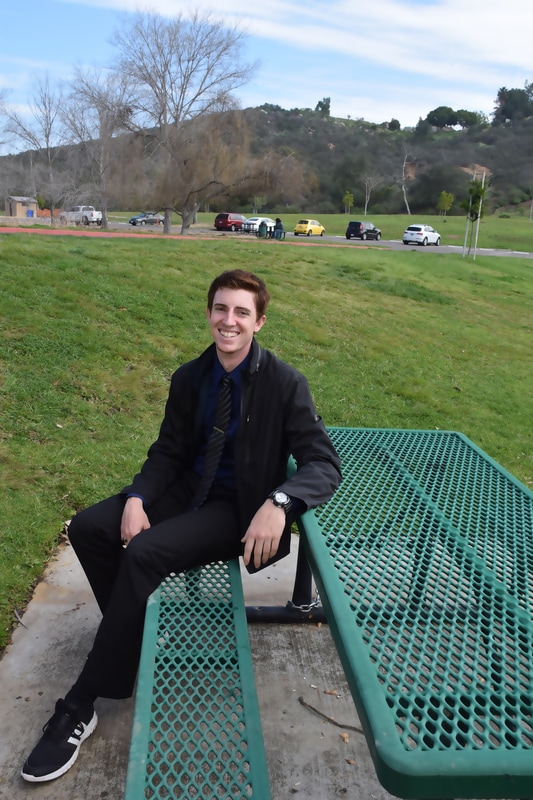 Aperture f/8, shutter speed 1/350 of a second, ISO 400 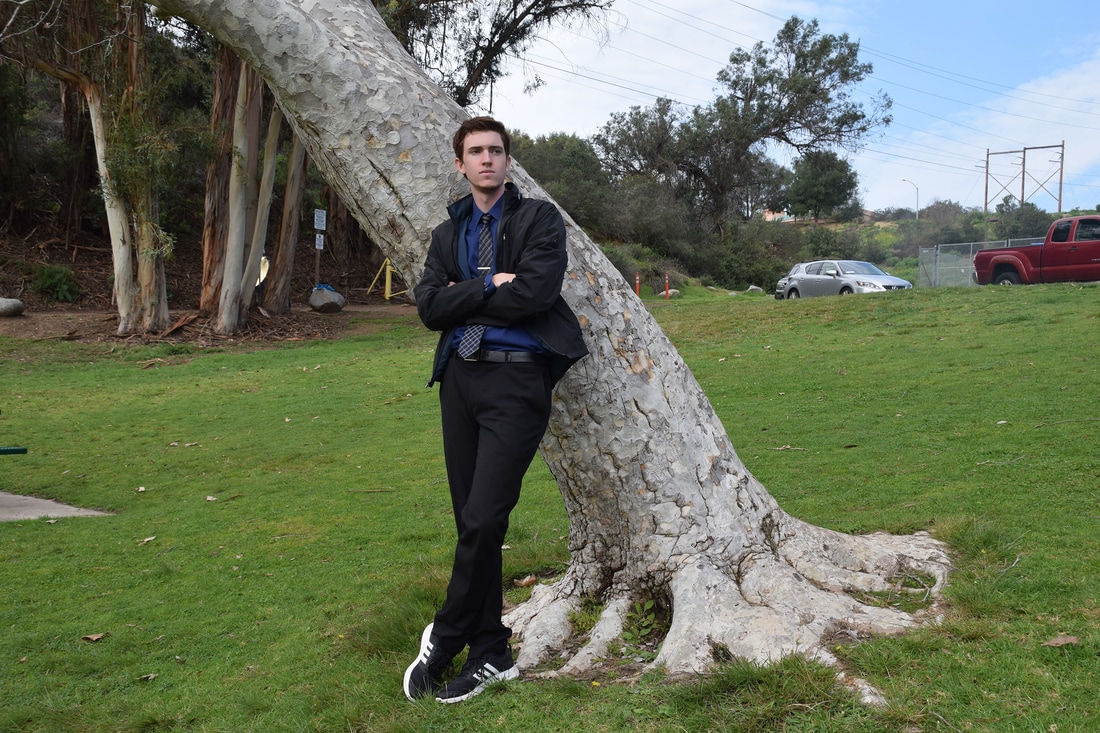 Aperture f/8, shutter speed 1/500 of a second, ISO 400 I learned that background is key and you should keep it simple. I used a sheet of paper with example poses to use and we chose the poses based on the model's preferences. I didn't use the reflector that much since the weather was a little gloomy so it wasn't that useful. To retouch the photograph I used photoshop and selected the model's face and added a new layer mask which I could use to edit. The most common people that request portraits are high school seniors, models, actors, etc. The range of pay for photographers in this industry go from $21,000 up to $90,000 depending on their reputation and professionalism. Photographers charge hourly and prices can range from $80 dollars an hour up to $200 dollars an hour depending on the photographer you use.
 I took this photograph because it shows education through arts and crafts. What’s different about this picture is that the art itself is unique. It is not your typical art picture with an artist painting on a canvas. Rather it shows a more modern type of art culture where people use wood burners to carve out different kinds of designs on their wooden canvasses. Another great value achieved through this photograph is its diversity in culture. We see three different artists that come from three different backgrounds. One is African-American another is Latino American and the third is just American. This gives this picture a great sense of unity since they are all working together to create a masterpiece.
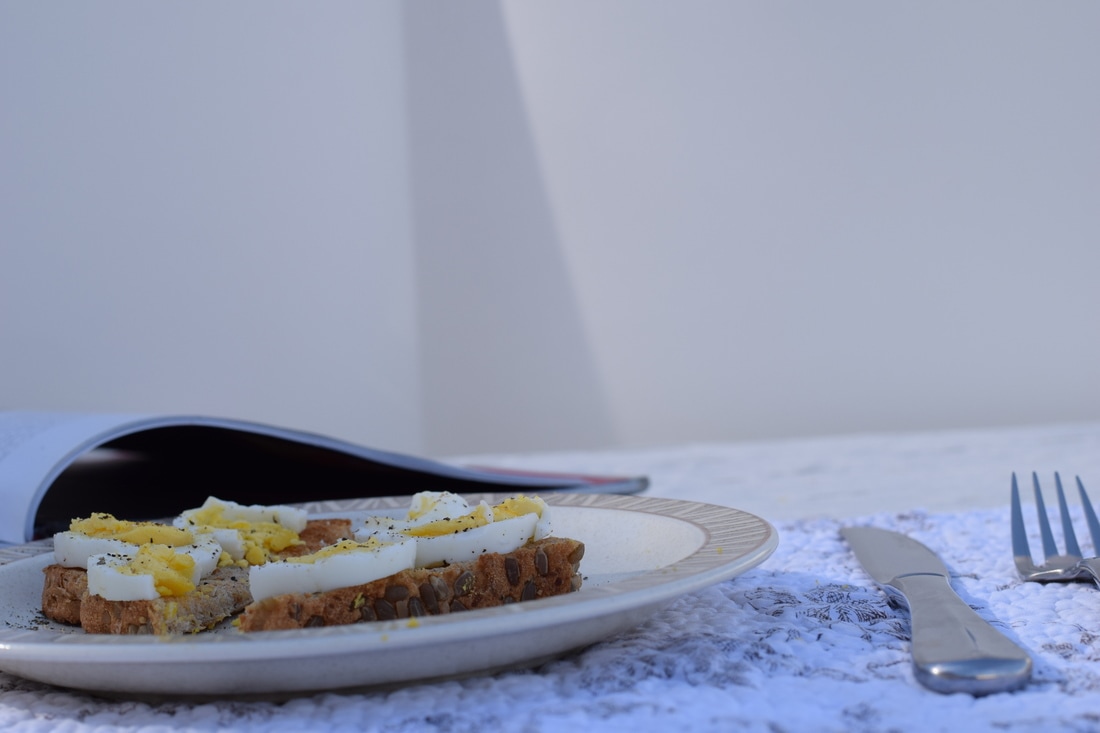 The breakfast, aperture f/8, shutter speed of 1/500 of a second, ISO 320 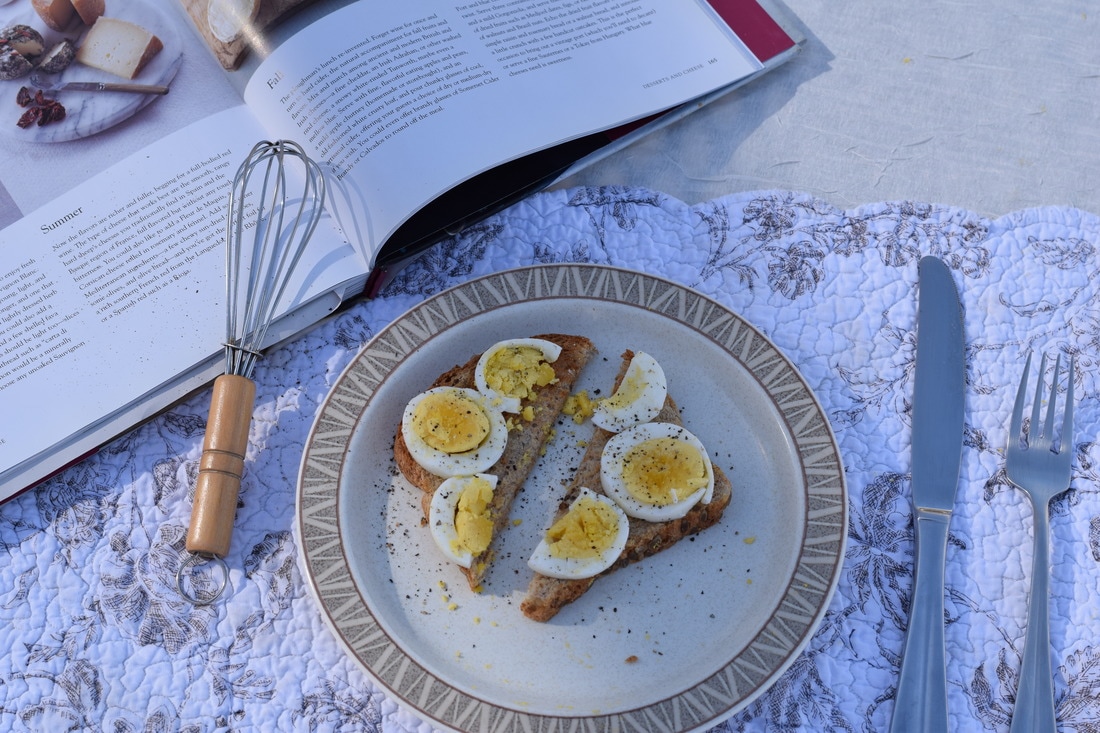 The feast begins, aperture f/8, shutter speed of 1/500 of a second, ISO 320 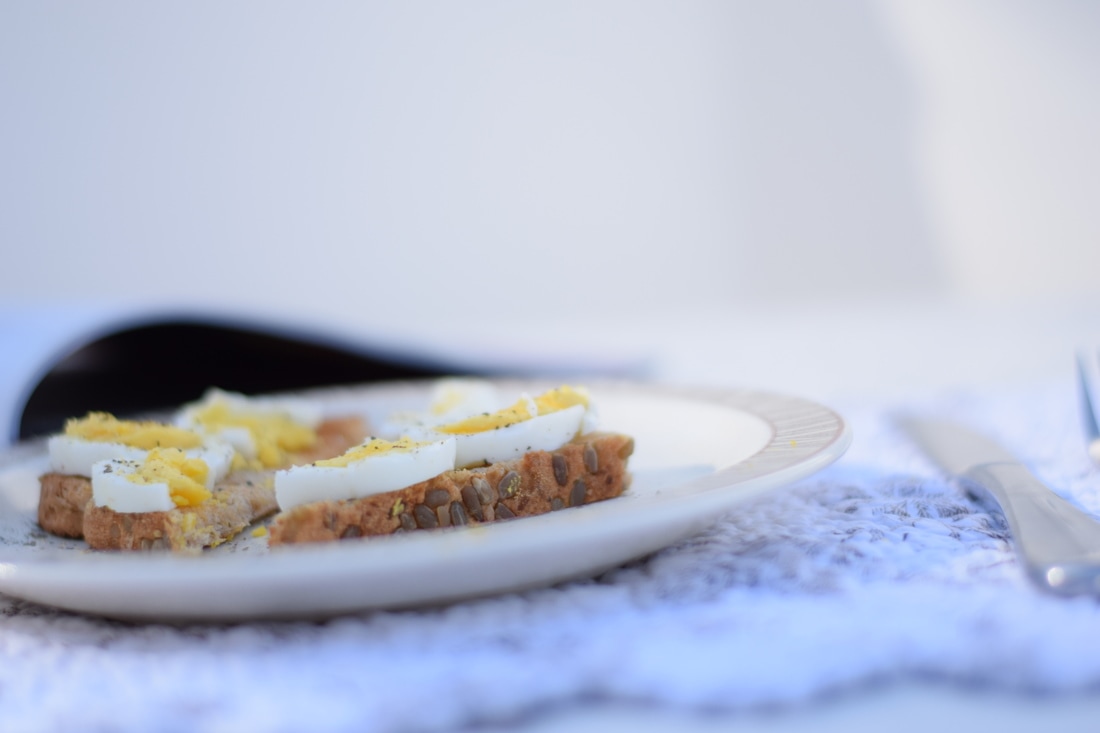 Yummy sight, aperture f/8, shutter speed 1/500 of a second, ISO 320 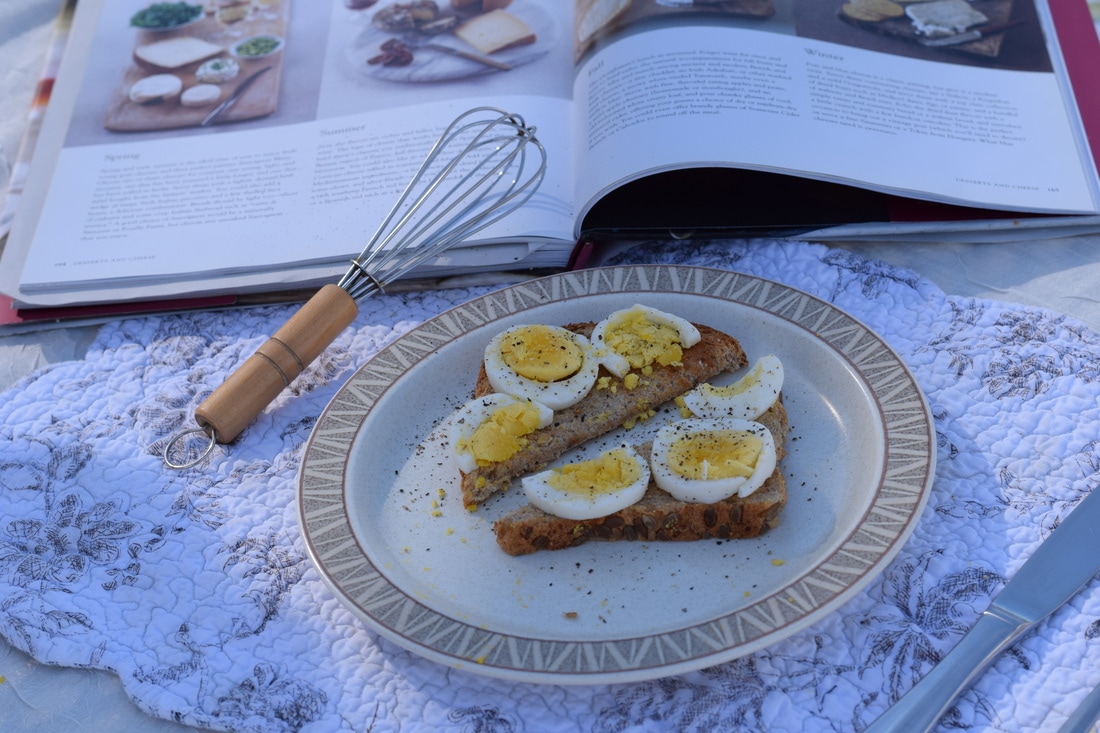 Recipe, aperture f/8, shutter speed 1/500 of a second, ISO 320 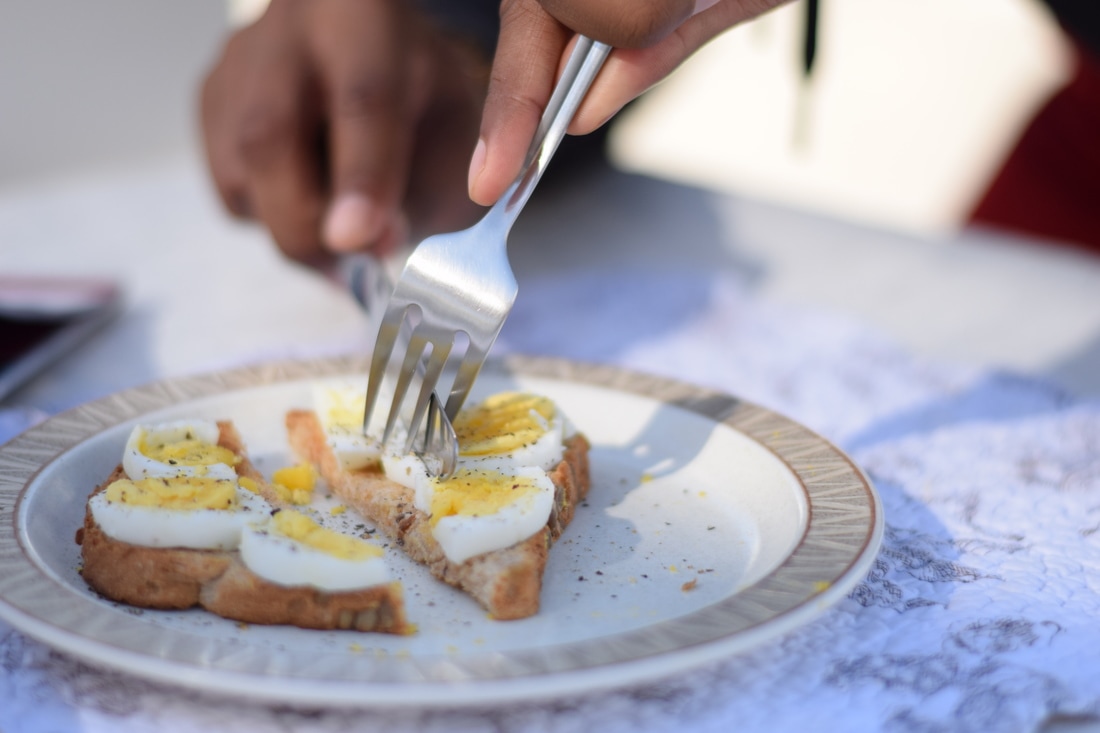 Time to eat, aperture f/8, shutter speed 1/500 of a second, ISO 320 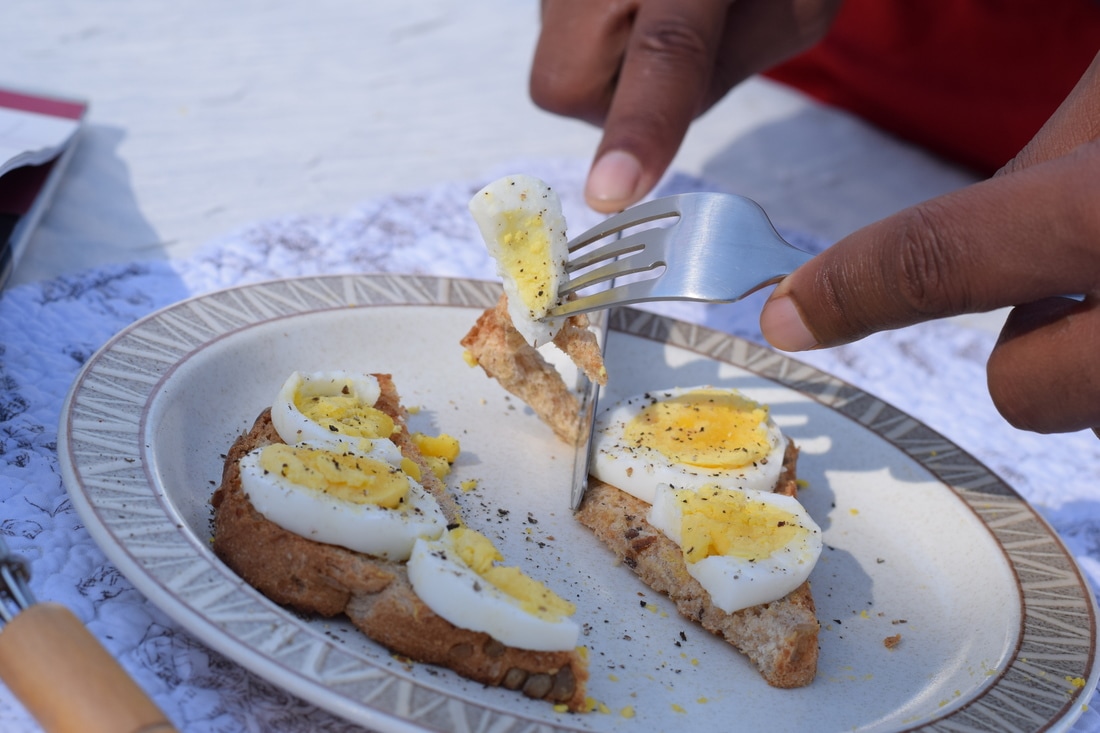 Can't wait, aperture f/8, shutter speed 1/500 of a second, ISO 320 1) I brought in some toasted pieces of bread and some black pepper. I also brought in a cookbook as a prop.
2) I learned that there are people that actually set up the food, enhance the food such as adding color, add in fake materials in order to make it stand out in the picture, adjust the lighting in certain ways to make it look vibrant, and last but not least they alter the angles to maximize photo quality. 3) I prepared the meal to look exactly the same as the one of the professional photographer by using the same foods and ingredients he did. 4) I learned how to use reflectors, incorporate background into the picture, and use props to make the story more interesting. 5) Businesses that use food photography could include bakeries, food shops, and restaurants. 6) I think I was successful in setting up the props in the background to make the photograph look complete. 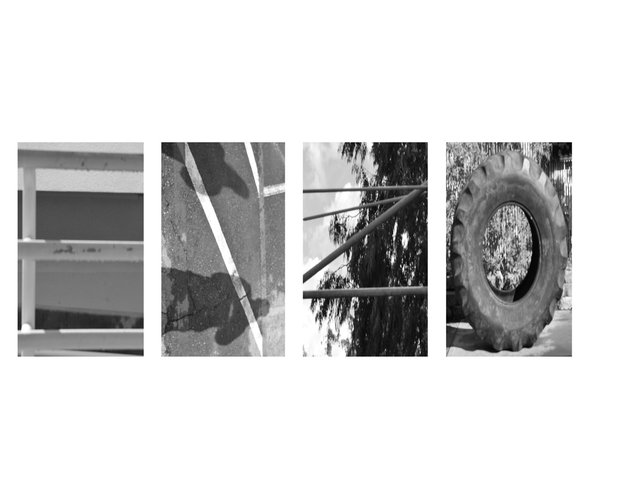 1) First I opened up a name template that my teacher provided for us and then I dragged each individual photograph onto that template. As you put the photos onto the template you're going to have to resize them in order to make them fit and look proportional. Once you're happy with the photograph you then click the check mark at the top in order to be able to move onto the next photo.
2) I had a hard time figuring out why it wouldn't let me drag the next picture onto the template. 3) Then when I figured out that I had to click the check mark I felt really proud of myself because I did it on my own without the help of anybody. 4) I think my artwork is very unique in the sense that the letters are cultivated out of natural occurring things around our campus. 5) I could have improved the letter n in the name by highlighting the lines to make them more apparent. 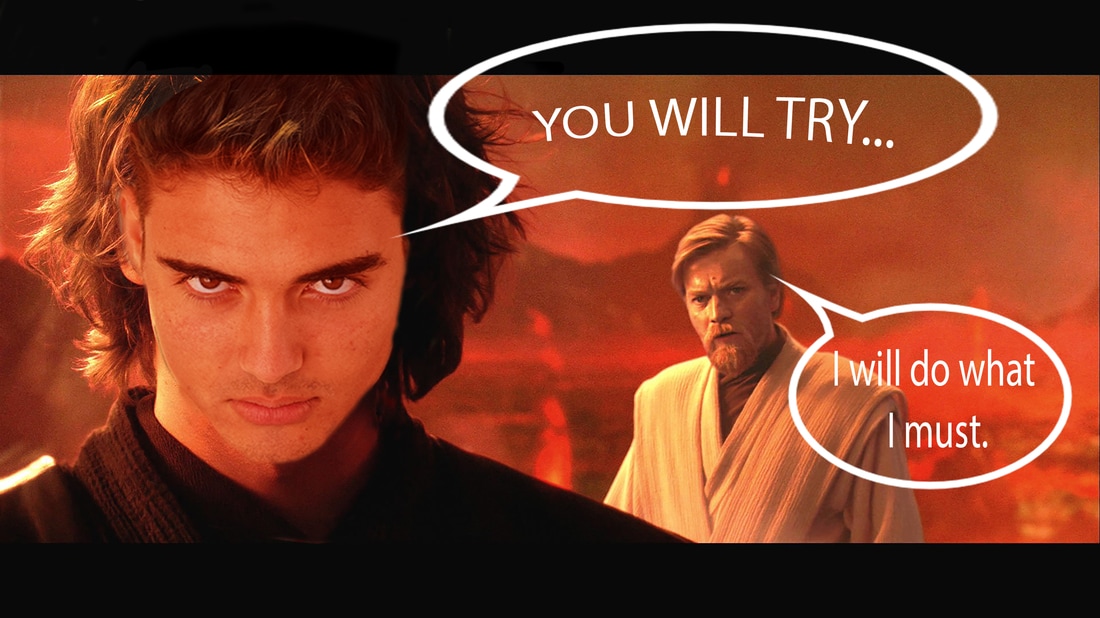 In this photograph I'm an actor. To be specific, I'm playing the role of Anakin Skywalker in the hit saga Star Wars. My dream career is to be a famous actor that stars in famous action movies/blockbusters. 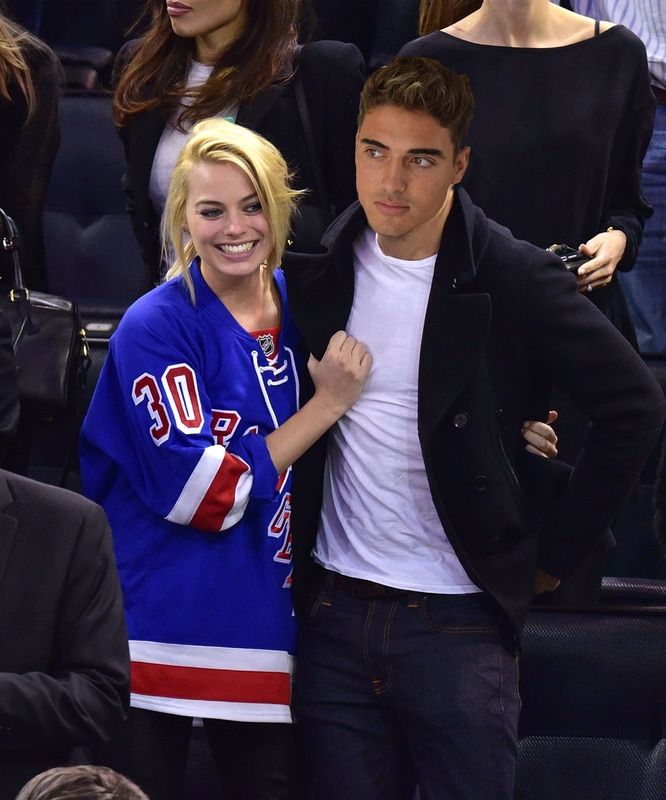 Here I'm hanging out with my soon to be wife at a hockey game. In my vision I will be with a beautiful woman in the future enjoying life. Other than my career, my personal love life is a big part of my success and happiness. Here are the steps to create a layermask image:
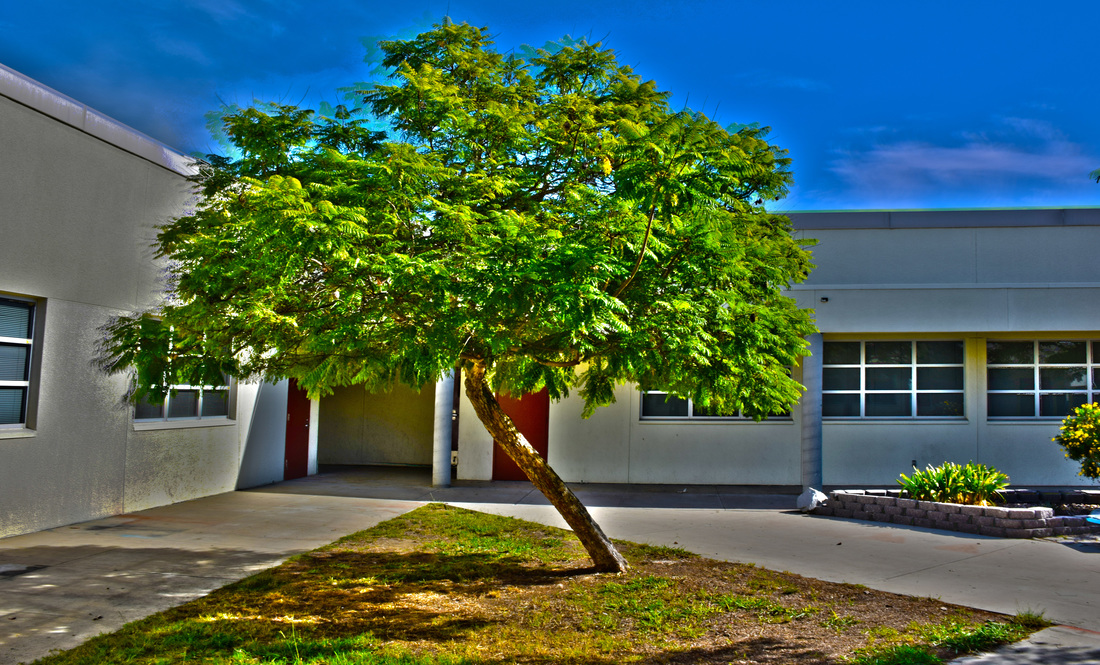
1) Get a picture of your face and a picture that you want to put your face in. 2) Use the lasso tool to cut out your face and put it onto the other image on photoshop. 3) Then use the scale to adjust your face according to the face of the person you're trying to replace. Lower the oppacity like that you can see the outline of his or her face in order to get it as exact as possible. 4) Put the oppacity back up to 100% and use the paintbrush tool to erase the edges of your face to make it look as real as possible. If you mess up by any chance just switch the color of the paintbrush from black to white and you can undo any mistakes you have made.  0 Exposure, aperture f/16, shutter speed 1/90th of a second, ISO 200 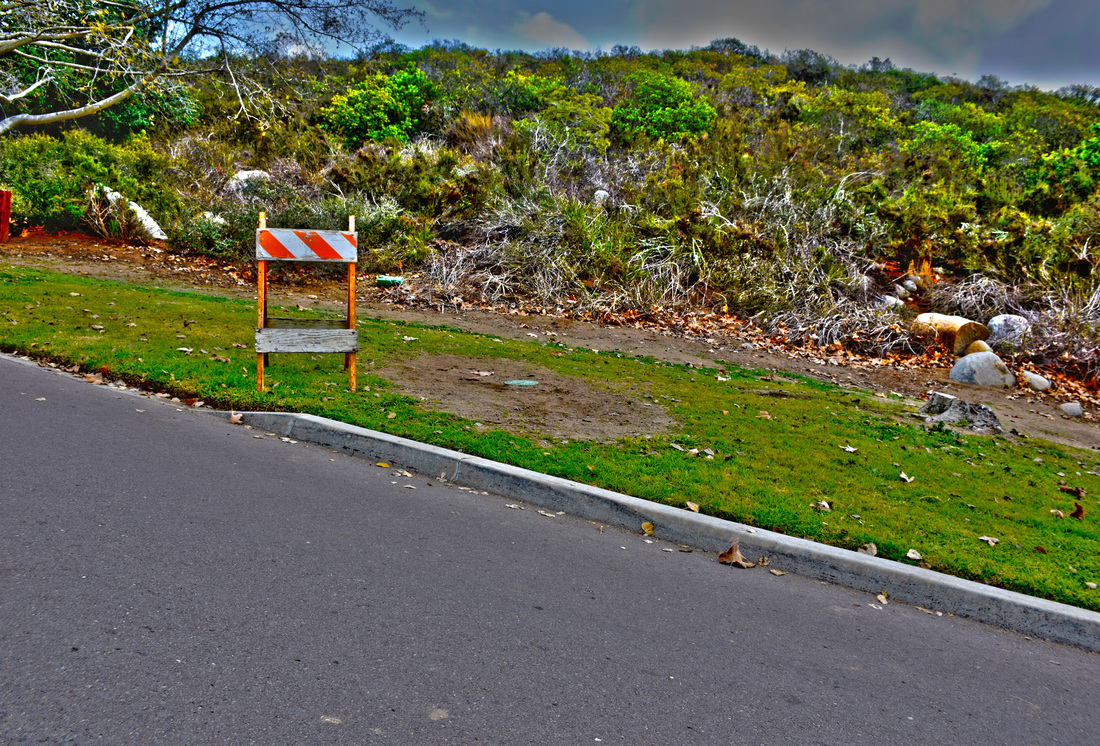 Rule of thirds 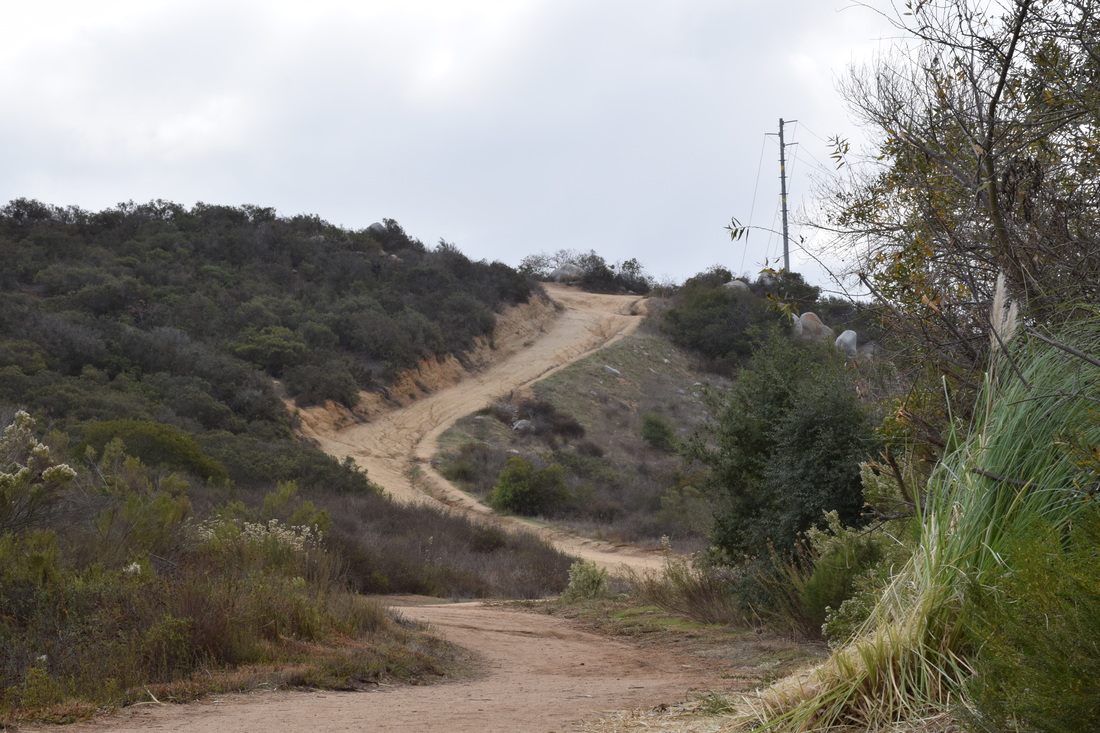 0 Exposure, aperture f/16, shutter speed 1/90th of a second, ISO 200 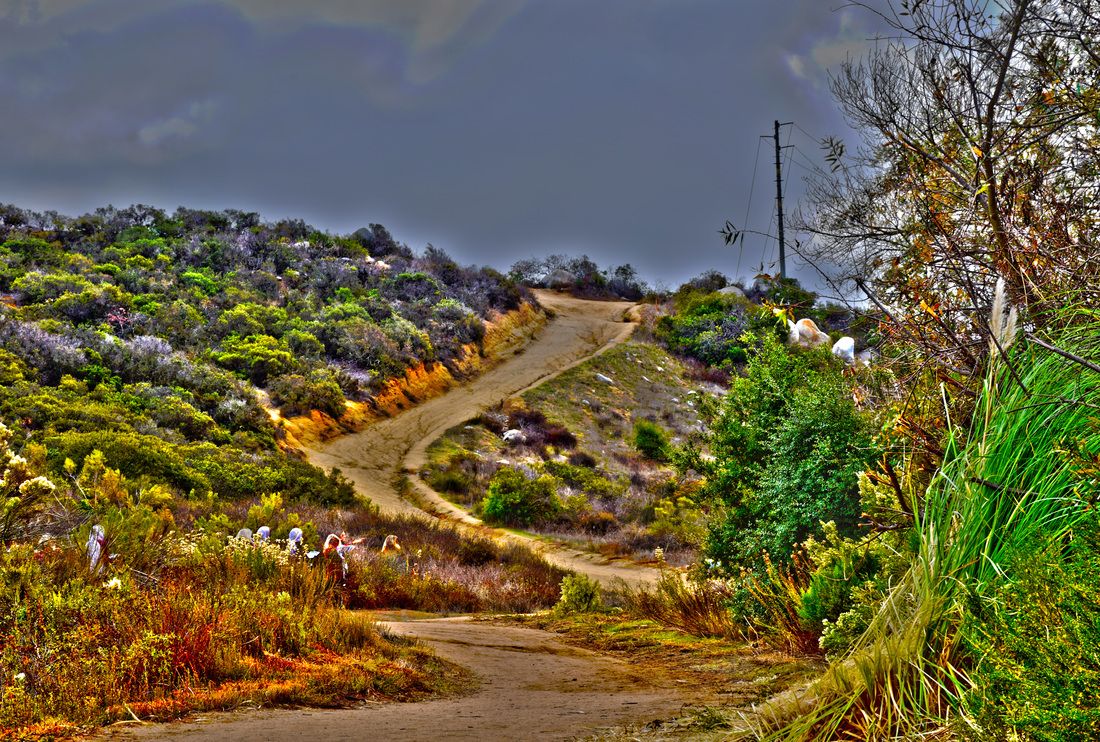 Leading line 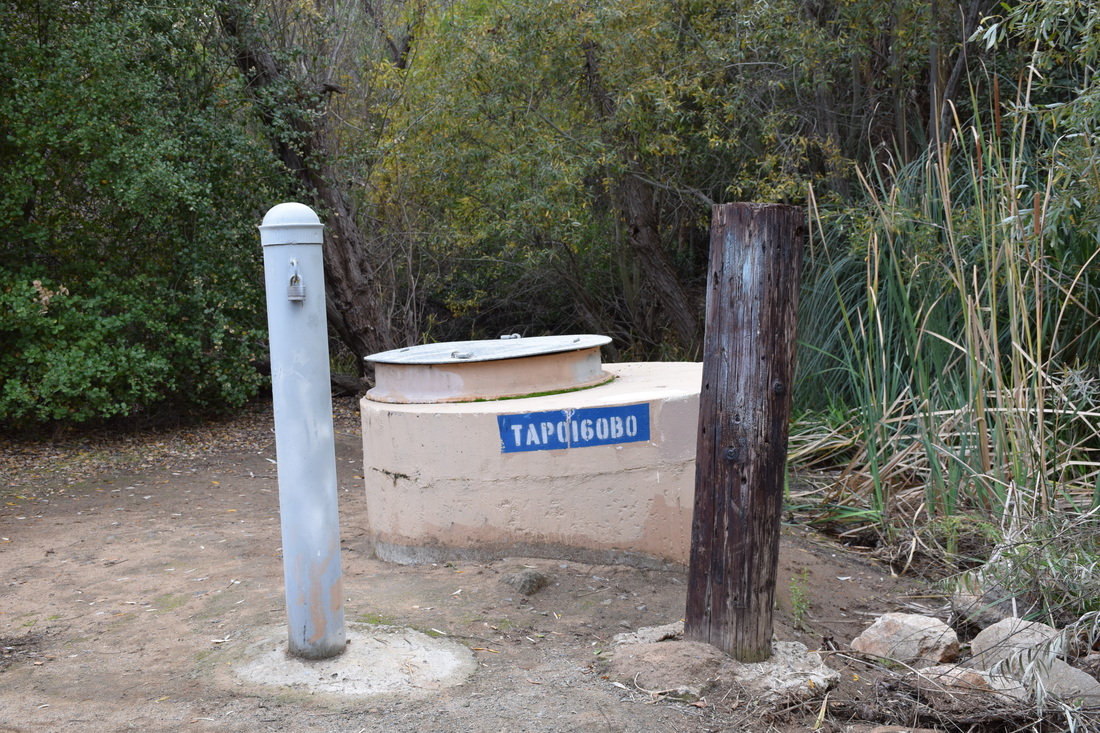 0 Exposure, aperture f/16, shutter speed 1/90th of a second, ISO 200 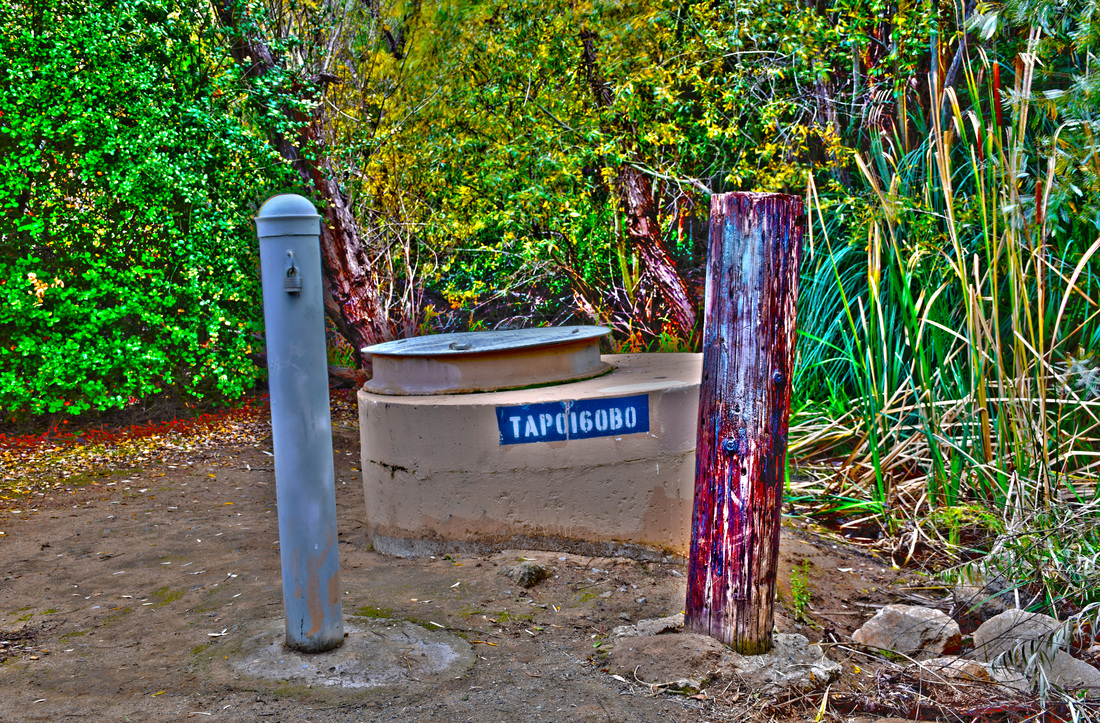 Framing 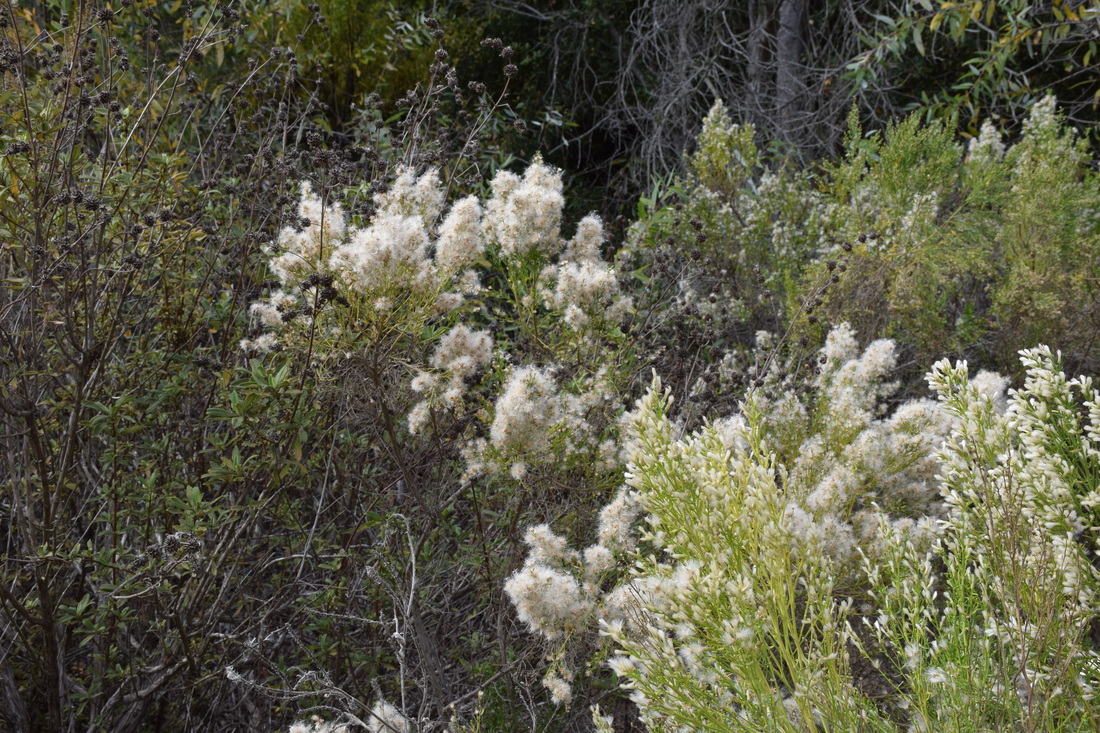 0 Exposure, aperture f/16, shutter speed 1/90th of a second, ISO 200 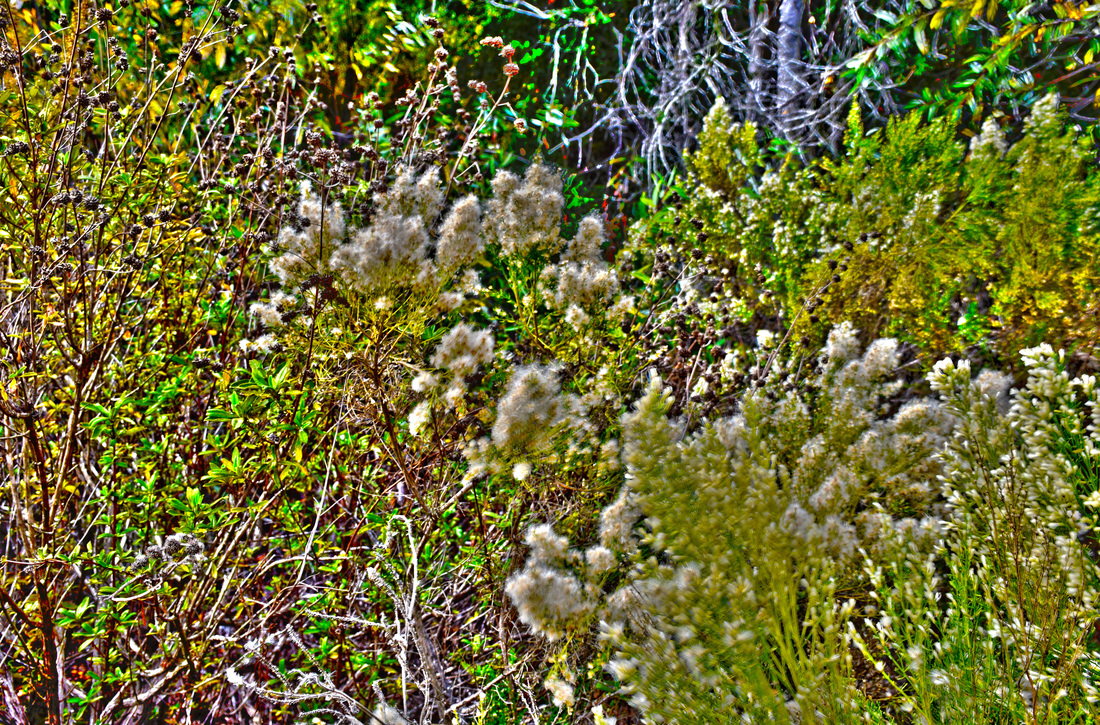 Crop 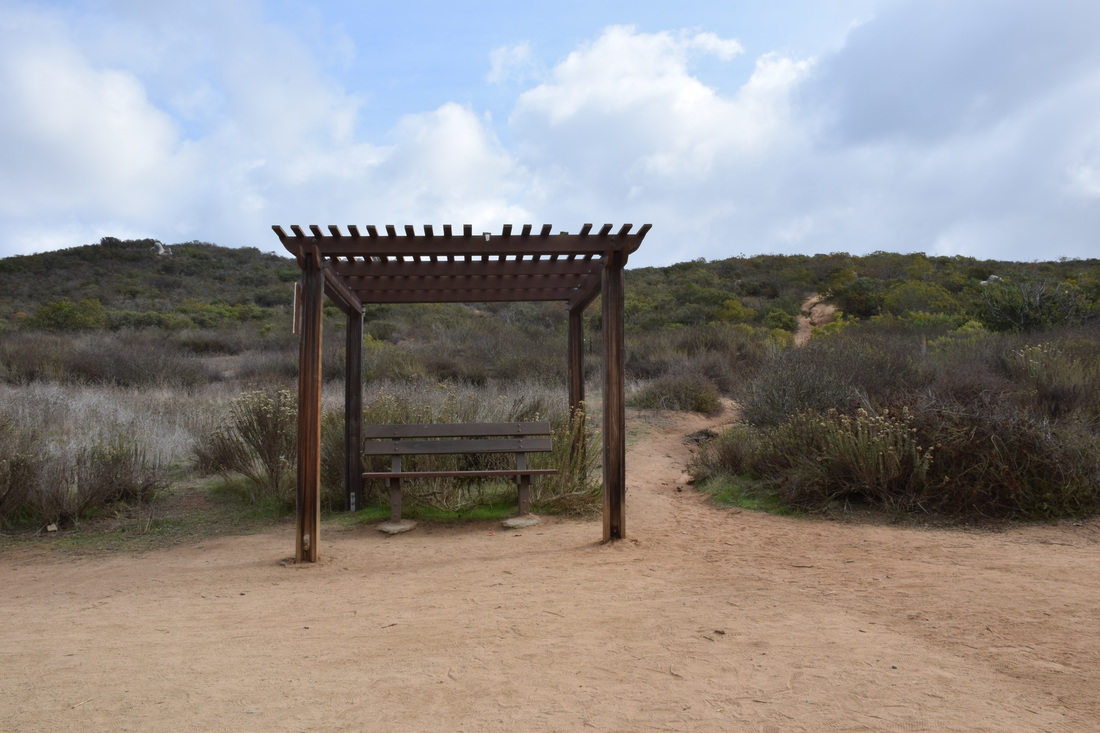 0 Exposure, aperture f/16, shutter speed 1/90th of a second, ISO 200 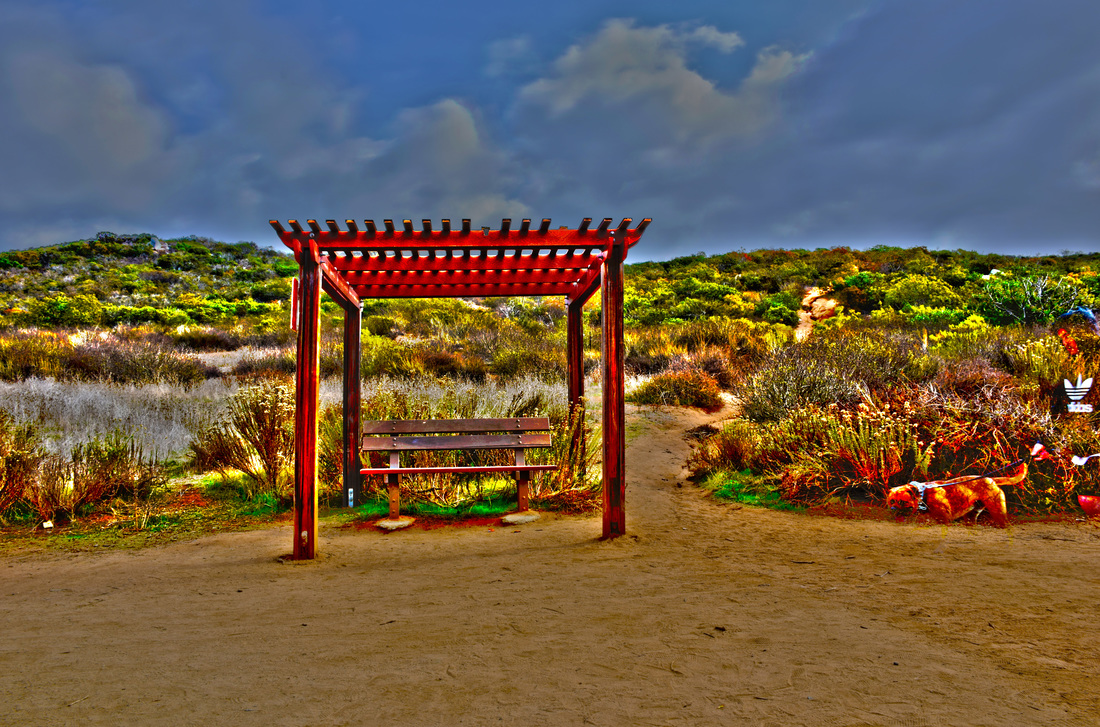 Symmetry I created these HDR images by taking 5 pictures of the same exact thing on a tripod. I made sure each picture was taken in a different exposure. After that, I aligned all 5 pictures together in photoshop and I edited them so that they are more saturated in order to give them that surreal effect.
 Super Moon11/14/2016
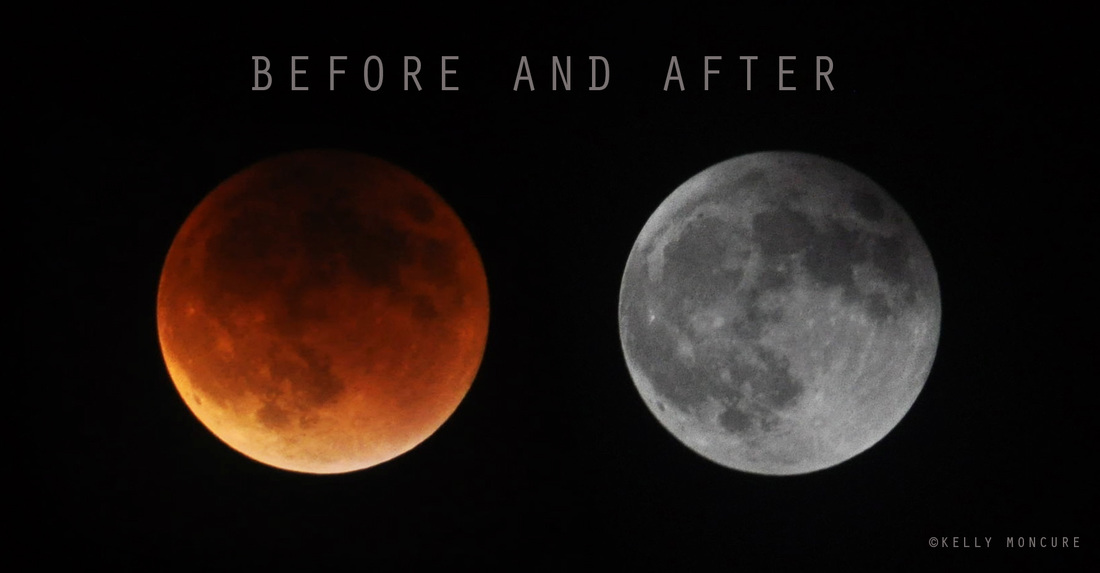
0 Comments Blood Moon Lunar Eclipse, September 27, 2015. Left image: 70-300mm lens @ 270mm, ISO 1000, aperture f/5.3, shutter speed 1.3 secs. Right image: 70-300mm lens @ 300mm, ISO 800, aperture f/13, shutter speed 1/1250 sec. To photograph the moon: 1. Use a tripod! A flat surface will only allow you to shoot straight, and shooting the moon means that you'll be shooting up and constantly re-adjusting the tripod as the moon moves throughout the night. 2. Use a shutter release cord, remote or the camera's self timer if you don't have one, so that you don't move the camera when pressing the shutter release during a long exposure. 3. Use a zoom lens and zoom in as much as you can to the moon. It's okay if it's not a super fancy lens, this was shot using a 15 year old $100 lens. Focus in on the craters and details on the moon. 4. ISO 1250- 1600, so that you can use as fast a shutter speed as you can without losing detail-the longer the shutter speed, the more chances you have the camera will shake even slightly in the wind, resulting in an out of focus photograph. 5. Aperture priority of f/5.6 since you are not worried about capturing any details other then the moon. 6. Bracket your exposure, meaning over expose and underexpose the photograph from what the camera is telling you. Generally the camera will overexpose the moon, so you'll get nothing but a white blob in the sky. Use the exposure compensation button (the +/- button below the shutter release) and change the exposure to -0.5, then -1.0, then -1.5 and so on, until you start seeing detail in the moon. You may go as far as -5.0 exposure compensation to get what you need. 7. Take a fair amount of photos and keep refocusing as the night progresses. The photographs may look focused on the camera's display, but you won't really see if they're completely in focus until you upload them onto your computer screen. |
AuthorHi, my name is Enzo Borghetto and I'm a senior at Rancho Buena Vista High School. Archives
June 2017
Categories |
 RSS Feed
